Face and Mane Structure
A Front-Facing Lion Portrait
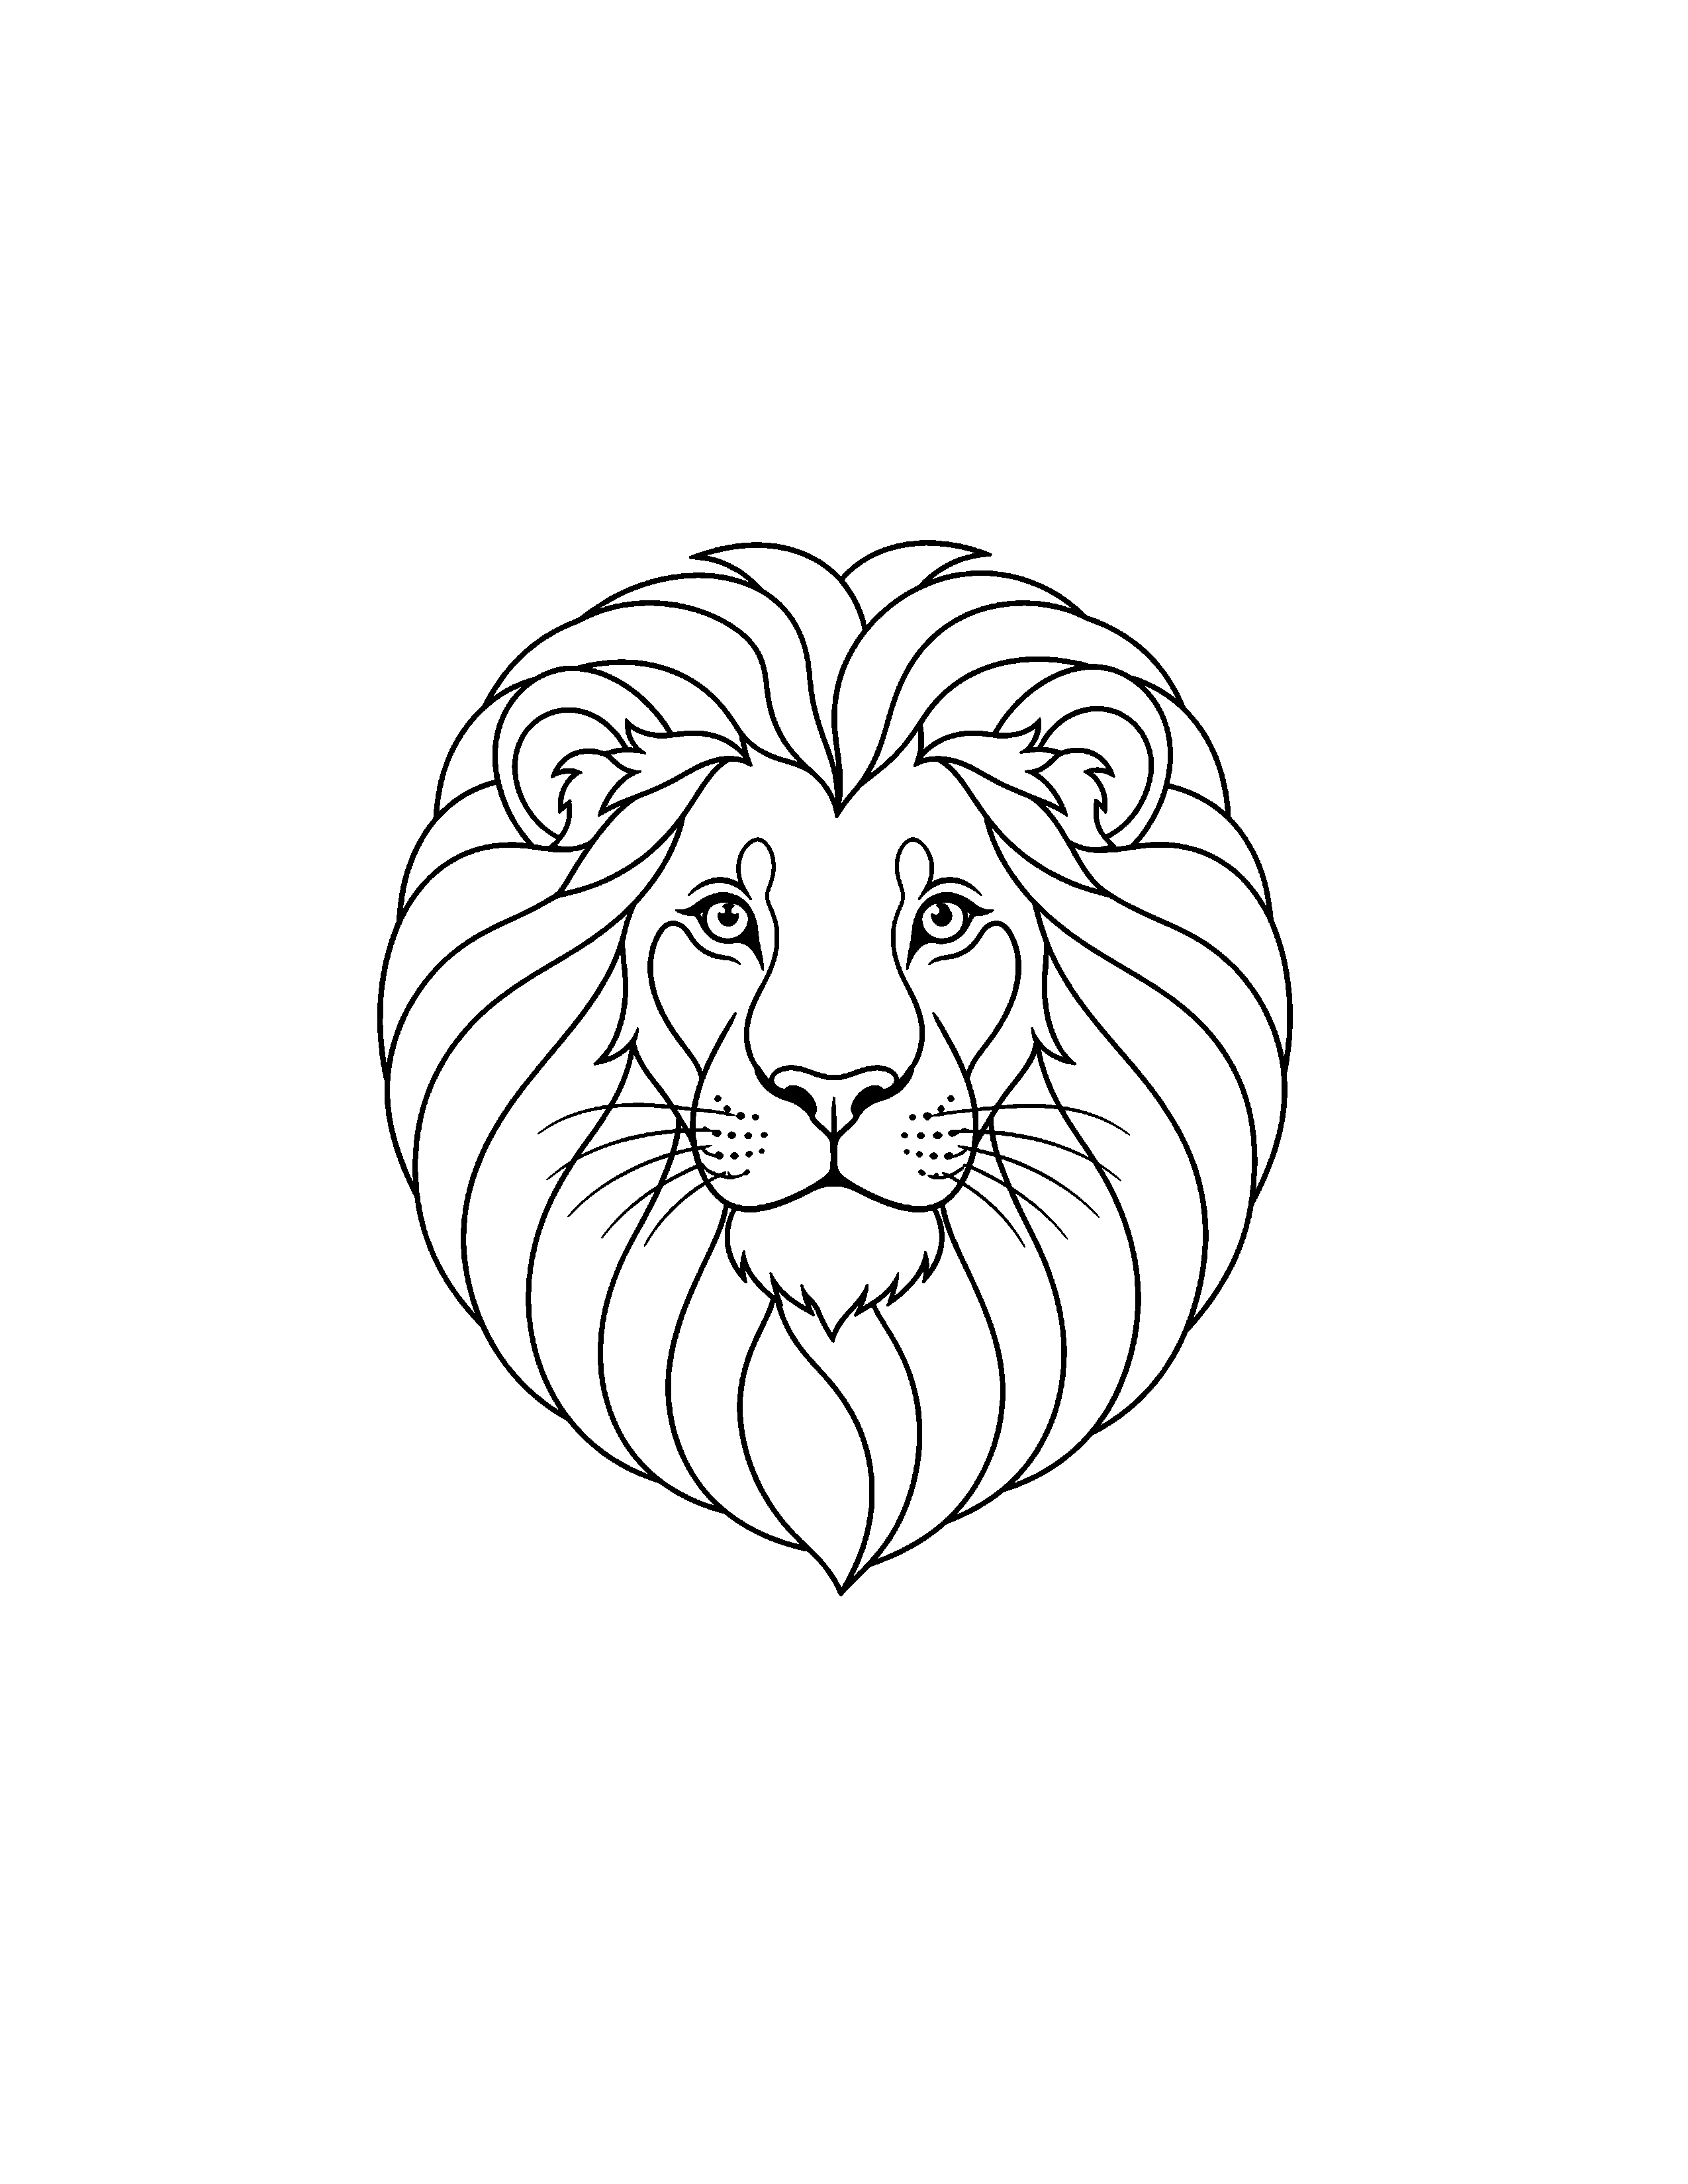
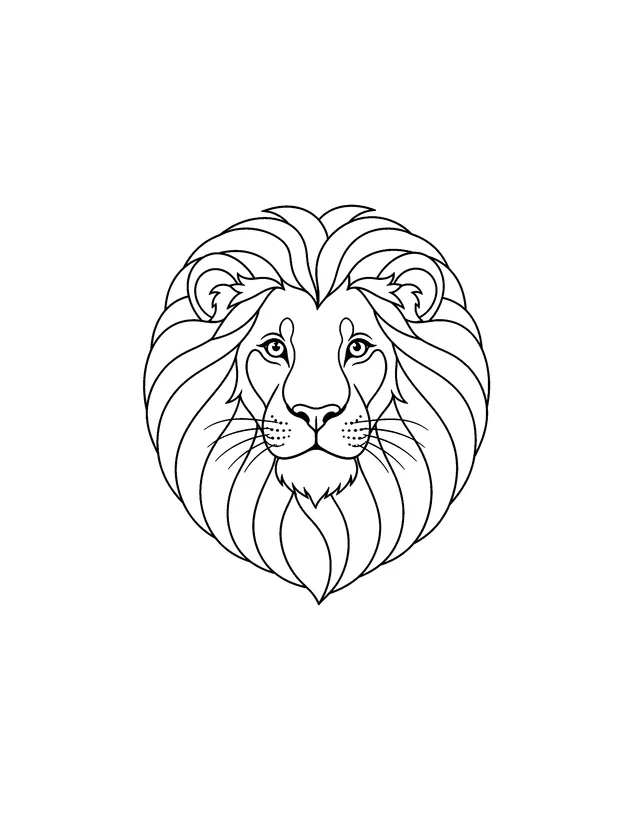
This printable presents one lion as a centered head-and-mane portrait. The lion faces directly forward, so both eyes, both rounded ears, the broad nose, two muzzle pads, and both sides of the mane remain visible.
The eyes and nose create the first focal area, followed by the closed mouth, whisker spots, and long whiskers. A pointed tuft below the chin completes the lower edge of the face before the mane expands around it.
Use the portrait's vertical center line as a visual guide. Compare the two eyes, muzzle pads, ears, and corresponding mane sections as you color so that related shapes can share tones while small differences in pressure add depth.
Nested Layers Around the Face
The large mane surrounds the face with repeated curved sections that end in pointed tips. Inner locks begin near the forehead and cheeks, while broader outer locks extend toward the rounded perimeter of the portrait.
The ears sit partly inside the upper mane, and the lower locks taper around the chin tuft. This arrangement creates several nested bands, letting a colorist move outward in rings instead of treating the mane as one undivided area.
The blank background isolates the entire head and mane, making every outer point easy to locate. It also keeps the complete outer silhouette easy to inspect. Following one layer at a time—from forehead and cheek locks to the outer perimeter—can prevent skipped sections and preserve the left-right balance.
Several broad locks curve downward along each cheek before the lowest sections meet beneath the muzzle and chin tuft. Across the top, pointed locks rise around the partly enclosed ears. Following the curved inner boundary of each lock before filling its center helps identify where one mane layer ends and the next begins, even when neighboring sections receive similar colors.
Build the Mane Palette
Color Ideas for Face and Mane
Try sand, ochre, honey, muted gold, or warm tan across the broad forehead and muzzle areas. A lighter cream can separate the two muzzle pads and inner ears, while a dark brown or charcoal can define the nose and eye outlines.
For the mane, choose one color family and vary it across the nested layers. Golden brown can shift into amber and deep chestnut, or a cooler palette can move from beige through taupe to dark brown around the outer locks.
Another option is to alternate light and dark locks while keeping matching sections on both sides related. The repeated curves make a controlled pattern possible, and the centered facial features can stay quieter so the eyes and nose remain easy to find.
Because the line art contains no gray shading, colored-pencil pressure can create the depth. Begin lightly inside each broad mane lock, then deepen color near selected inner curves or pointed ends without covering the clean black boundaries.
Work from Broad to Fine
A Face-to-Mane Coloring Order
Start with the broad facial regions: forehead, cheeks, muzzle pads, and ear interiors. Add the nose and eyes next, keeping the small pupils, nostrils, eyelid contours, and nearby white areas distinct before moving into the surrounding mane.
Color the mane from the inner locks outward. Complete matching sections near the forehead, then the cheek layers, side locks, lower locks, and outer ring, checking the opposite side after each step to maintain a balanced distribution of tones.
Save the whisker spots, long whiskers, narrow mane tips, mouth line, and chin tuft edges for the end. A sharpened colored pencil offers control near those fine marks, while broader pencil strokes can fill the forehead, muzzle pads, and larger locks.
Detailed Layers on an Open Background
The approved Detailed · Ages 8–14 label is supported by repeated mane layers, narrow pointed tips, eye contours, nostrils, whisker spots, long whiskers, ear interiors, and a small chin tuft. The blank background keeps that detail concentrated in one bounded portrait.
A quicker pass can use one face color and two mane tones across the broad locks. A slower pass can shade individual nested sections, coordinate matching shapes across the center line, and carefully preserve the eyes, whiskers, dots, nose, and tapered points.